
Run an A/B test with two Link destinations
Split traffic behind one Link, keep repeat visitors on a consistent destination, and read the results without confusing clicks with conversions.
4 min read
In this article
Choose two destinations and one outcome
Use a saved Link in the web app. Destination testing has no separate plan upgrade; your normal analytics history and app-opening limits still apply. This setup is for a Link, rather than a bio-only link.
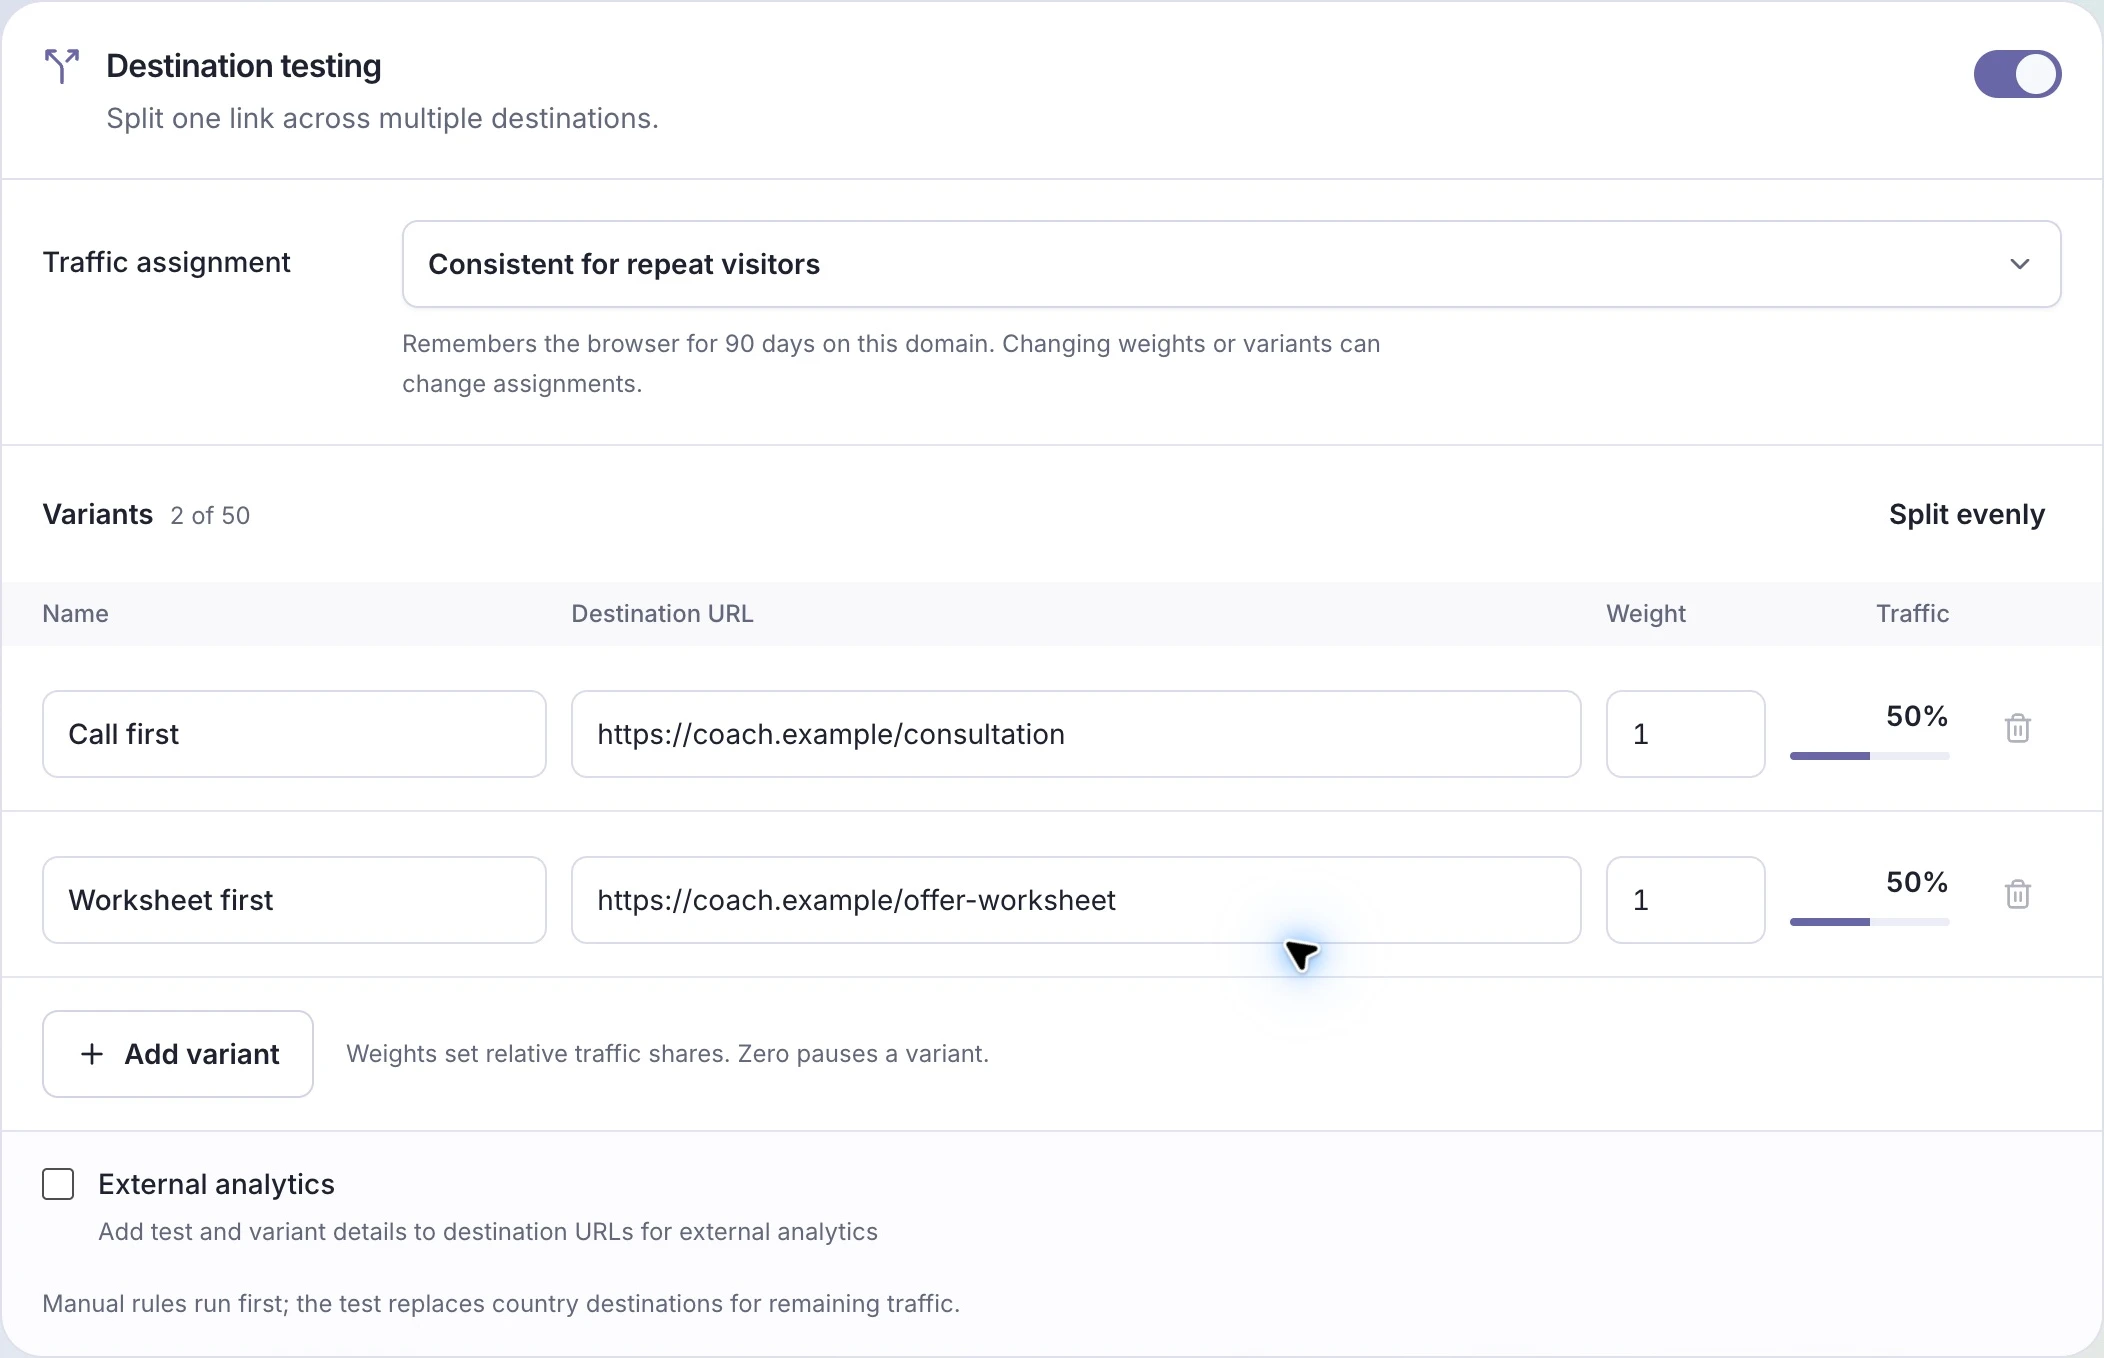
- Choose the two pages you want to compare. For a business coach, Call first could open a discovery-call page while Worksheet first opens an offer worksheet page.
- Decide what you want to learn before sending traffic. If the outcome is a booked call or a purchase on another site, arrange tracking on that site. LinkStack’s destination report measures traffic and app-open attempts.
Enable and save the test
- Open Links, edit the Link, and open Routing. Find Destination testing and turn on Enable test.
- Add a name and an HTTP or HTTPS URL for each variant. A test needs 2–50 destinations. Use names that make sense in the report, such as Call first and Worksheet first.
- Under Traffic assignment, choose Consistent for repeat visitors for a landing-page comparison. Random on each click makes a fresh selection for each click.
- Set the weights, or choose Split evenly. Two weights of 1 give each active destination an equal chance. Weights are ratios, so they do not need to add up to 100.
- If your external analytics is configured to capture URL parameters, turn on External analytics. It adds ls_test, ls_variant, and ls_variant_name to the destination URL.
- Choose Save in the Link editor to apply the test.
- Manual routing rules run first. The test selects a destination for the remaining traffic, replacing the country or default route for those clicks.
- Repeat-visitor consistency depends on the browser and domain. Clearing or blocking cookies, using another device or domain, privacy settings, or changing the test can change the destination.
Check the destinations and read the report
- Open each destination directly to check its content and next action. Then open your public Link to check the routed experience. In consistent mode, repeated clicks from the same browser may keep landing on the same variant.
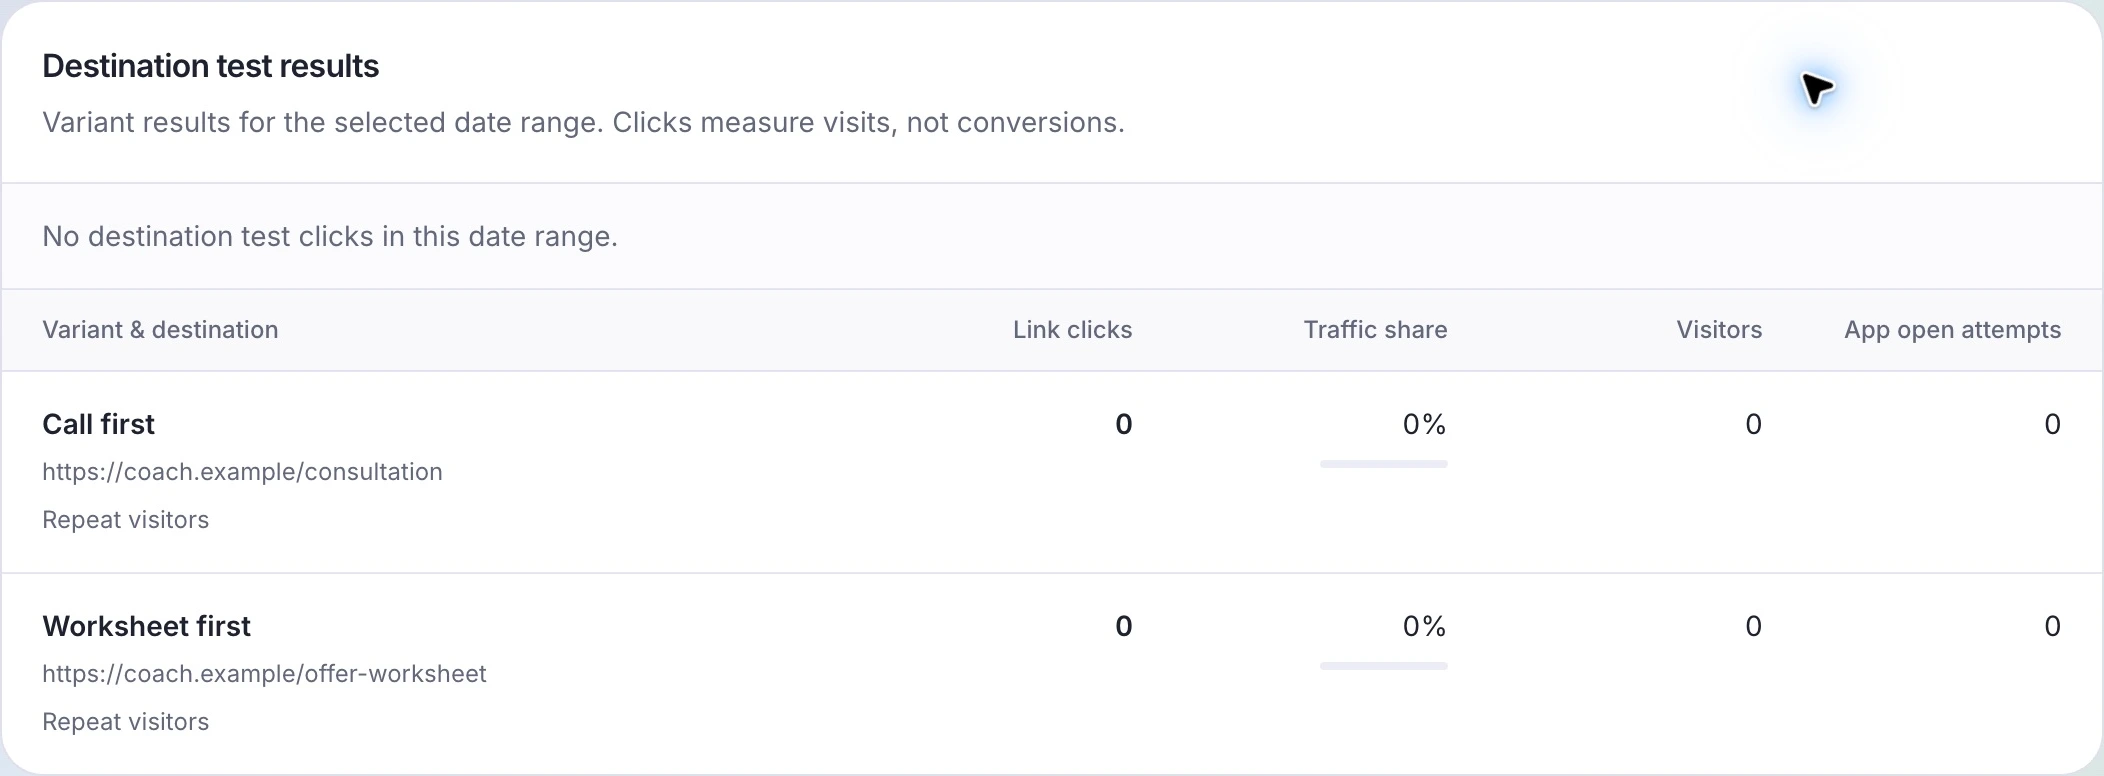
- Open the Link’s analytics and find Destination test results. Choose a reporting period that includes your test traffic.
- Use Link clicks and Traffic share to check how traffic was distributed. Visitors is an estimate; the same person can appear in more than one variant, so do not add variant visitor counts as a unique audience total.
- Use your destination site’s records to compare the outcome you chose. App open attempts do not confirm that an app opened, and the traffic report does not measure purchases or bookings on another site.
Pause a destination or end the test
Renaming a variant or changing its URL or assignment mode can leave separate historical rows marked Previous settings. Keep settings stable during a comparison. If the report says results are unavailable, retry later; that message does not mean the test received zero clicks.
- Set a variant’s weight to 0 and Save to stop sending new test traffic to it. At least one destination must keep a positive weight. Split evenly gives every variant a positive weight again.
- To stop testing, turn off Enable test and Save. Your normal routing resumes, and the saved test configuration and history remain.
Related articles
Still need help?
Support & feedback