
How to prepare automation emails for sending
Set up sender details, publish a workflow with Send Email, and understand when LinkStack sends or skips the step.
7 min read
In this article
Set up sender details first
- Open Settings, then Email.
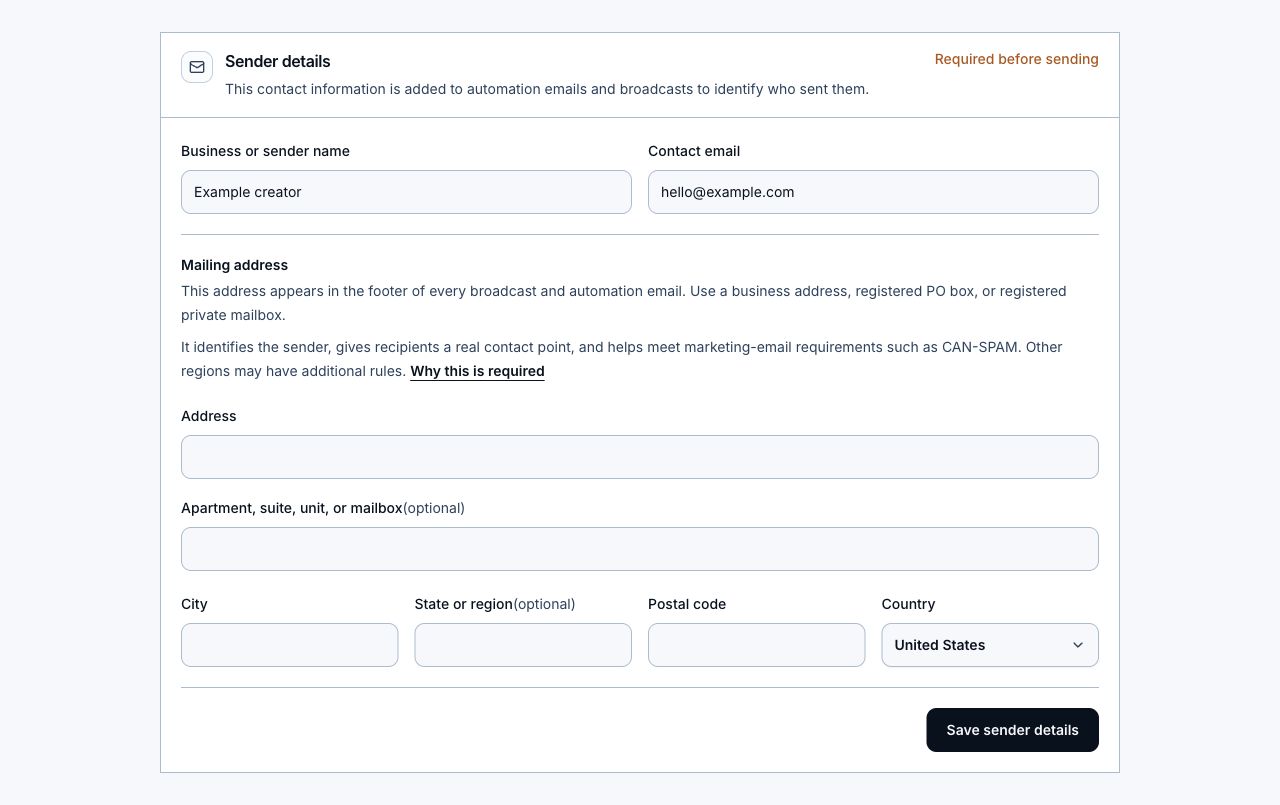
- Add your business or sender name, contact email, and valid mailing address.
- Click Save sender details.
- Return to Automations. A workflow with Send Email cannot be published until this setup is complete. The mailing address must stay saved for live sends and retries, including emails sent from your own verified domain.
Build the email step
- On Growth, open a workflow with an Instagram conversation trigger, product trigger, or supported contact trigger. Thank-you follow-up and Abandoned cart email are ready-made starting points in New automation.
- For a simpler sequence, use Email → Flows → New email flow. Select a trigger, add emails, choose templates or write inline, then Save draft or Publish flow. Open workflow editor saves and opens the same automation for advanced options.
- Click + on the workflow canvas, open Messaging, and choose Send Email. You can also search for Send Email in the step picker.
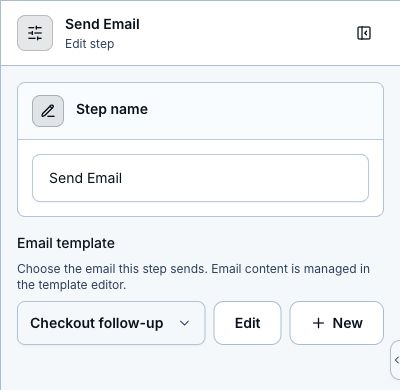
- Choose an email template, then select Edit to change its subject, optional preview text, and message. Choose New to create a template.
- Keep the creator profile email as reply-to or enter the reply-to address you want to monitor.
- Use supported product tokens only when the trigger supplies that product or order data.
- For checkout-started recovery, put a Delay before Send Email and keep a clear product link in the message.
- Validate, test, save, and publish the workflow.
Follow up after collecting an email on Instagram
- In the Instagram workflow, collect an Email reply in a Send Message step and save it to the contact profile.
- From the valid-reply path, click +, open Messaging, and choose Send Email in the same workflow.
- Choose the email template, then validate and test the complete path with a subscribed contact.
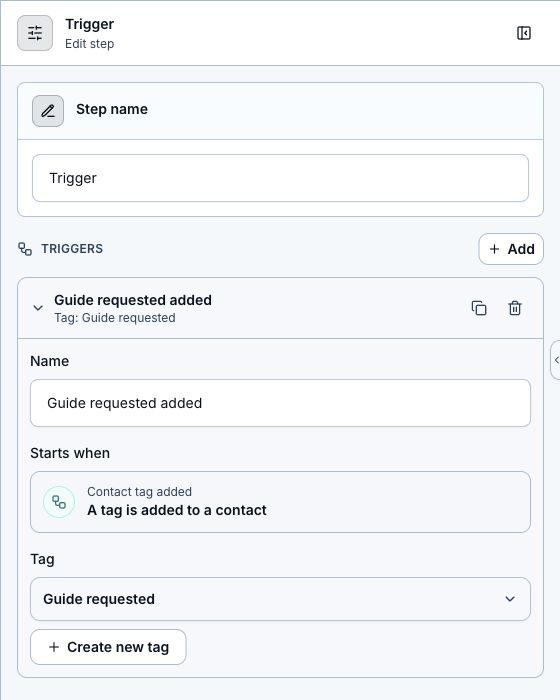
- For a separate email workflow, add a tag such as Guide requested under Actions on valid input and use that tag as the second workflow’s trigger. This is optional; a social conversation workflow can send email directly.
- A saved email address alone does not make a contact eligible: the email subscription must be active.
Use product tokens
- {{product_title}} inserts the product title.
- {{product_url}} inserts the public product page.
- {{download_url}} inserts the secure download link when the purchase event includes one.
- {{order_id}} inserts the order ID.
- {{first_name}} inserts the contact first name when available.
What is added automatically
- Automation emails use your active verified sender from Settings → Email. Without an active sender, they use LinkStack’s address and the sender name saved in the email step, or your Display name from Settings → Account. A blank Display name falls back to your saved business or sender name.
- LinkStack adds the saved sender name, mailing address, and contact email to HTML and plain-text versions.
- LinkStack adds an unsubscribe link and supports one-click unsubscribe in email apps that offer it.
- Each send and retry checks that your mailing details are still complete and the contact is still subscribed and not suppressed. Removing the mailing address blocks queued emails and retries too.
- You remain responsible for the content, audience, consent, and marketing rules that apply to the message.
When the Send Email step is skipped
- The sender mailing address is missing or incomplete, even if the workflow is already published or an email was prepared earlier.
- The workflow contact or contact email cannot be found, or the contact’s email changed after the email was prepared.
- The contact or email subscription is unsubscribed, blocked, or deleted.
- The address is suppressed after a bounce, complaint, or provider suppression.
- For abandoned-cart workflows, the purchase completed before the delayed email step ran.
Troubleshooting
- If sender details are missing when publishing, complete the popup and choose Save and publish. You can also edit these details in Settings → Email.
- If a live run skips Send Email, open the automation run and check the skipped reason.
- Confirm the contact has a primary email and is still subscribed.
- Check whether the recipient unsubscribed. A bounce, spam complaint, or provider suppression marks the original email as failed and blocks future marketing sends to that address. Those blocked deliveries cannot be retried.
- Confirm the trigger provides the data used by your tokens, then test again.
Related articles
Still need help?
Support & feedback