
How to choose the name customers see on transaction emails
Use your account display name on booking, order, membership, review, and media-kit access emails.
3 min read
In this article
Change the visible sender name
- Open Settings and choose Account.
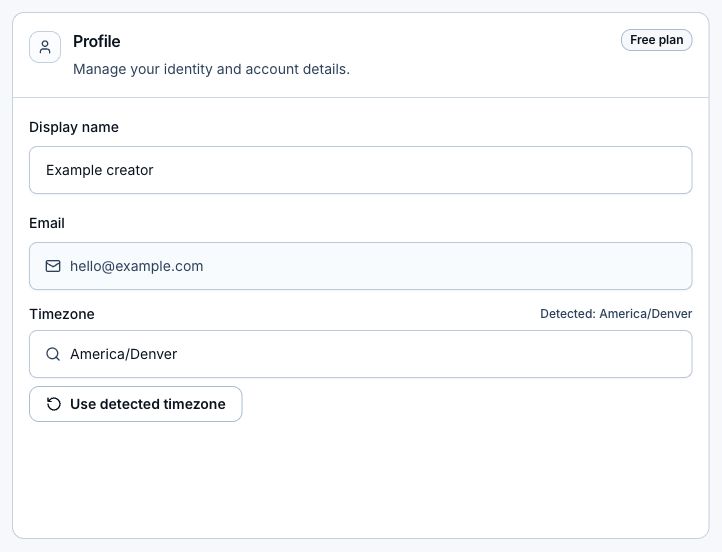
- Under Profile, enter the Display name customers should recognize.
- Save the account settings.
- Send a test purchase or booking to an address you can check.
Where the name appears
- Booking confirmations, reminders, reschedules, and cancellations.
- Digital and custom-product order messages, including download recovery.
- Membership lifecycle messages.
- Product review requests.
- Media-kit verification links, including approved requests and protected rates. Inquiry alerts to you keep the LinkStack sender.
What stays LinkStack-owned
The inbox shows your display name, but LinkStack still sends through its verified email address. Changing the display name does not create a mailbox or change the sending domain. Internal account alerts keep the LinkStack sender identity so they are not mistaken for creator-written messages.
Related articles
Still need help?
Support & feedback