
How to add a product card to your bio page
Put a published product on a bio page so visitors can find it without hunting for a shop link.
4 min read
In this article
Steps
- Open Dashboard, then Products.
- Find the product.
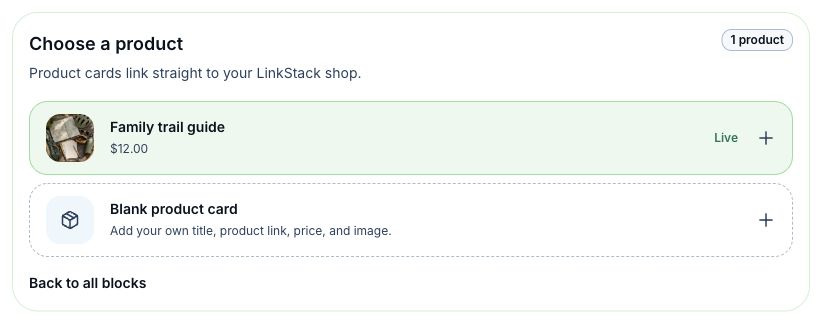
- Click Add to bio.
- Choose the bio page.
- Click Add product card.
- Open the bio editor if you want to move the card higher or adjust nearby content.
- For a card outside a collection, choose Card → Format → Image only to make the full product image the link. The title, price, and action remain saved for other formats. Use Thumbnail to change the card image.
- For an appointment outside a collection, choose Card → Format → Calendar to show available days on the bio. Save the bio, then click a day on the public page to open that day's appointment times.
- Open the public bio page and test the product card.
What to check
- The product should be Published before you send people to it.
- Stripe should show Payments ready before paid checkout is expected to work.
- Move current drops, guides, and paid offers near the top during a launch.
- Use the Dashboard's Product performance table to compare views, completed orders, conversion, and revenue in the selected date range. Open a product for checkout starts, downloads, customers, and the full report.
Related articles
Still need help?
Support & feedback